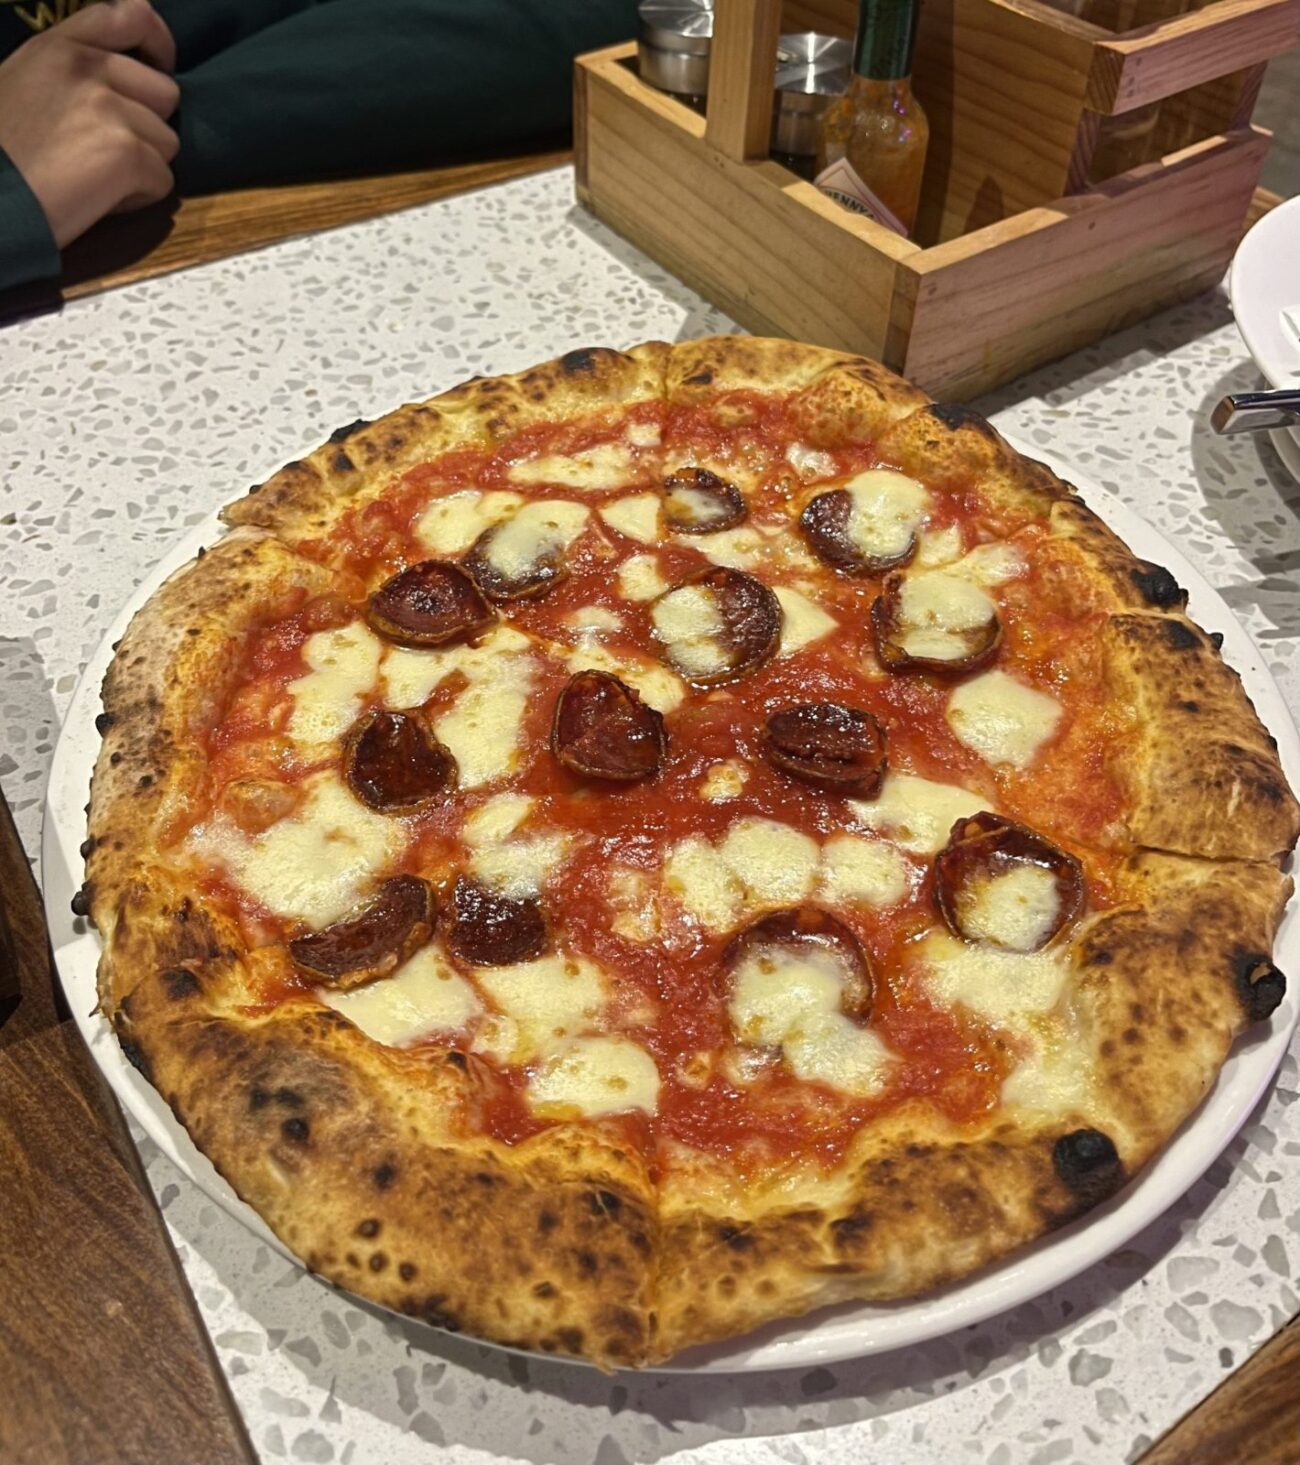
There is a moment every home cook remembers: the first time a pizza comes out of their own oven looking like it belongs in a proper pizzeria. The crust is puffed and freckled with char, the cheese is bubbling in molten pools, and the kitchen smells like a bakery and an Italian grandmother’s Sunday lunch at the same time. For a lot of people, that moment feels out of reach. They’ve tried store-bought dough that bakes up pale and bready, or recipes that promised “restaurant quality” and delivered something closer to cheesy toast.
The good news is that great pizza is not magic, and you do not need a wood-fired oven in the garden to make it. You need to understand a handful of principles: how flour and water become an elastic, flavorful dough; why time matters more than kneading; how heat transforms a soft disc into a crisp, airy crust; and how restraint with toppings makes every bite better. Once you understand those principles, you can make excellent pizza in an ordinary home kitchen, week after week.
This guide walks you through the entire process, from choosing flour to sliding the finished pie onto a cutting board. You’ll get a reliable master dough recipe, a no-cook tomato sauce that tastes brighter than anything from a jar, oven techniques for every kind of kitchen, and a collection of topping combinations that go well beyond the usual.
1. Understanding the Styles: What Kind of Pizza Are You Making?
Before you measure a single gram of flour, it helps to decide what style of pizza you want, because each one uses slightly different dough, a different oven setup and a different approach to toppings. Most homemade pizzas fall into one of four families.
Neapolitan
The original from Naples. Neapolitan pizza has a thin, soft centre and a tall, airy rim (the cornicione) covered in dark blisters. Traditionally it bakes in 60 to 90 seconds at around 450°C (850°F) in a wood-fired oven. The dough is simple, just flour, water, salt and yeast, and toppings are minimal: tomato, fresh mozzarella, basil and olive oil for the classic Margherita. At home, you can get close with a pizza steel under a very hot grill or with one of the portable pizza ovens that have become popular in recent years.
New York Style
Large, foldable slices with a thin, crisp-yet-chewy crust. New York dough usually includes a little oil and sometimes sugar, which helps it brown in a home or deck oven that runs cooler than a wood-fired one, around 260 to 290°C (500 to 550°F). The cheese is low-moisture mozzarella, which melts evenly without making the pie soggy. This is arguably the most forgiving style for a standard home oven.
Pan and Detroit Style
Thick, airy and baked in an oiled rectangular pan, which essentially fries the bottom of the crust into a golden, crunchy layer. Detroit pizza is famous for cheese spread right to the edges, where it caramelizes into a lacy, crisp “frico” border, and for sauce ladled on top after baking. Pan pizzas are the easiest to get right at home, because the pan does most of the work and you don’t need to stretch dough into a perfect circle.
Thin and Crispy (Bar or Tavern Style)
A cracker-thin crust, often cut into squares rather than wedges. The dough is rolled rather than stretched and usually contains less water. It’s a great option for parties because the pies are light and the pieces are easy to share.
If you’re just starting out, pick either New York style or a pan pizza. Both are tolerant of mistakes and work beautifully in a regular oven. Once you’re comfortable, move on to Neapolitan.
2. The Ingredients That Actually Matter
Pizza dough has only four essential ingredients, which means each one makes a big difference. Quality here is not about spending a fortune; it’s about understanding what each ingredient does.
Flour
Flour is the backbone of your crust. What you’re looking for is protein content, because protein forms gluten, the stretchy network that traps gas and gives pizza its chew.
- Italian “00” flour is very finely milled and typically sits around 11 to 13 percent protein. It’s the traditional choice for Neapolitan pizza and gives a soft, tender crust at very high temperatures. In a regular oven it can bake up pale, because it browns slowly.
- Bread flour (12 to 14 percent protein) is the home cook’s best friend. It creates a chewy, well-structured crust that browns nicely at normal oven temperatures. It’s ideal for New York and pan styles.
- All-purpose or plain flour (around 10 to 11 percent) works in a pinch but produces a softer, less chewy crust that can tear when you stretch it thin.
A mix of half “00” and half bread flour is a popular compromise that gives you tenderness and good browning.
Water
Bakers talk about hydration, meaning the weight of water as a percentage of the weight of flour. A dough made with 1,000 g of flour and 650 g of water is 65 percent hydration. Higher hydration (68 to 75 percent) gives a more open, airy crust but is stickier and harder to handle. Lower hydration (58 to 62 percent) is easier to work with and gives a denser, crisper crust. Start around 63 to 65 percent and adjust as your confidence grows.
Salt
Salt is not optional. It seasons the crust, strengthens gluten and slows fermentation so the flavor has time to develop. Aim for 2.5 to 3 percent of the flour weight, so 25 to 30 g per kilogram of flour. Use fine sea salt or table salt so it dissolves evenly.
Yeast
You need surprisingly little. Instant dried yeast is the easiest to use because you can mix it straight into the flour. For a long, slow fermentation in the fridge, as little as 0.2 to 0.5 percent of the flour weight is plenty. Too much yeast makes the dough rise fast but taste flat and boozy.
Why weigh everything? A cup of flour can weigh anywhere from 120 g to 160 g depending on how you scoop it. That difference can turn a silky dough into a sticky mess. A cheap digital scale is the single best investment you can make for better pizza.
3. The Master Dough Recipe (Cold-Fermented)
This is a versatile dough that works for New York style and, with a hotter oven, a very respectable Neapolitan-ish pie. It uses a long, cold fermentation in the fridge, which is the secret most pizzerias rely on. Time does the work that kneading used to do, and it builds deep, slightly tangy flavor.
Makes: 4 dough balls for 30 cm (12-inch) pizzas
Hands-on time: 20 minutes
Fermentation: 24 to 72 hours in the fridge
Ingredients
- 600 g bread flour (or a 50/50 mix of bread flour and “00”)
- 390 g cool water (65 percent hydration)
- 16 g fine sea salt
- 2 g instant dried yeast (about ½ teaspoon)
- 12 g olive oil (about 1 tablespoon), optional, for New York style
Method
- Mix. In a large bowl, whisk the flour and yeast together. Add the water and stir with a spoon or your hand until no dry flour remains. The dough will look shaggy. Cover and leave for 20 minutes. This rest, called an autolyse, lets the flour fully absorb the water and starts gluten development on its own.
- Add salt and oil. Sprinkle the salt over the dough, add the oil if using, and squeeze and fold the dough with a wet hand for 2 to 3 minutes until the salt disappears.
- Knead briefly. Turn the dough out and knead for 5 to 7 minutes, or use a stand mixer with a dough hook on low for 6 minutes. The dough should become smooth and slightly tacky, not perfectly silky. That’s fine; the fridge will finish the job.
- Bulk rest. Return the dough to a lightly oiled bowl, cover and leave at room temperature for 1 to 2 hours.
- Divide and ball. Divide into four pieces of roughly 250 g each. Shape each into a tight ball by folding the edges into the centre, then flipping it seam-side down and rolling it under your cupped hand against the counter until the surface is taut.
- Cold ferment. Place each ball in a lightly oiled container or on an oiled tray covered tightly with cling film. Refrigerate for at least 24 hours and up to 72. The flavor improves noticeably between day one and day three.
- Warm up. Take the dough out 2 to 3 hours before baking. Cold dough is stiff and springs back when you stretch it; room-temperature dough relaxes and stretches easily.
Short on time? You can make the same dough in a single day by increasing the yeast to 4 g and letting the balls rise at room temperature for 4 to 6 hours. It won’t have quite the same depth of flavor, but it will still beat most takeaway pizza.
4. A No-Cook Tomato Sauce That Beats Any Jar
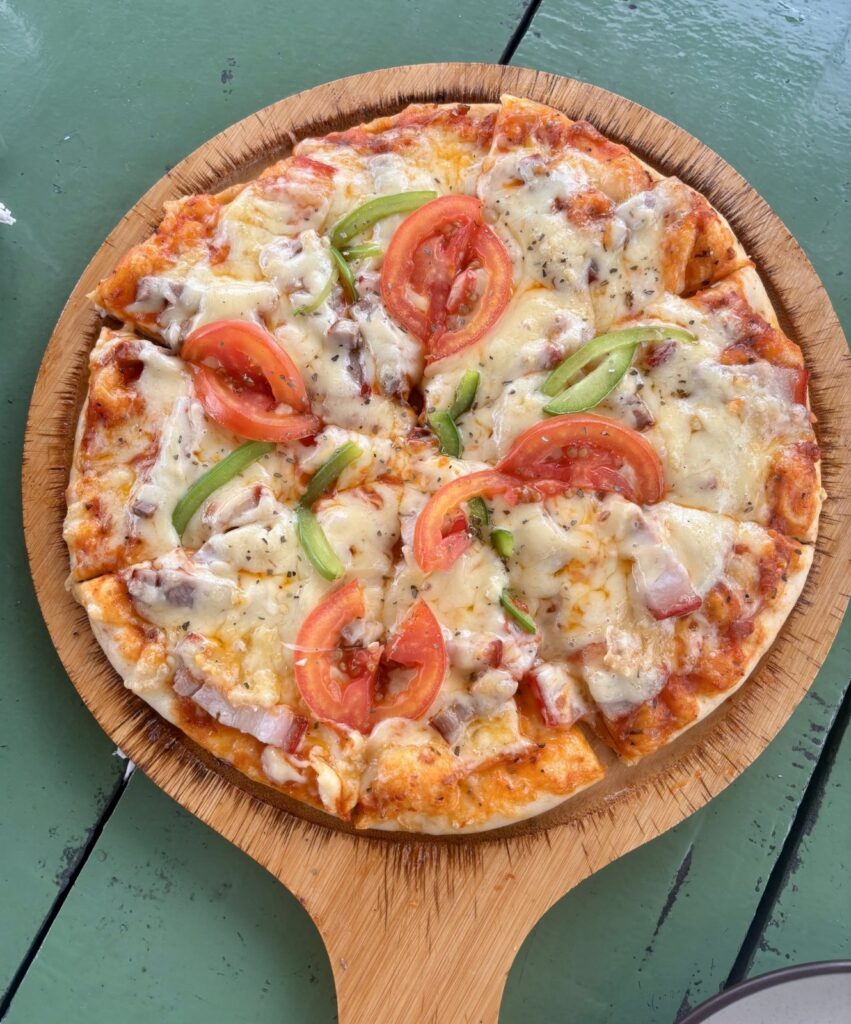
One of the biggest mistakes home cooks make is using a thick, heavily cooked pasta sauce on pizza. The sauce will cook again in the oven, so it should start fresh and fairly loose. The best pizza sauce is almost embarrassingly simple.
Ingredients
- 1 can (400 g) good-quality whole peeled tomatoes, such as San Marzano or another Italian plum tomato
- ½ teaspoon fine sea salt, or to taste
- 1 tablespoon extra virgin olive oil
- A few fresh basil leaves or ½ teaspoon dried oregano
- 1 small garlic clove, finely grated (optional)
Method
Drain off some of the thin liquid from the can, then crush the tomatoes by hand or pulse them briefly with a stick blender. You want a slightly chunky texture, not a smooth purée, and definitely not an airy, orange foam, which is what happens if you blend too long. Stir in the salt, oil and herbs. Taste: it should be bright and well-seasoned. If your tomatoes are very acidic, a small pinch of sugar will round them out.
That’s it. No simmering. The sauce keeps in the fridge for four days and freezes well in small portions.
Beyond Tomato
Not every pizza needs red sauce. Try these alternatives:
- Garlic oil: Warm olive oil gently with sliced garlic and chilli flakes for 5 minutes, then cool. Brush over the dough for a “white” pizza.
- Ricotta base: Season ricotta with lemon zest, salt and black pepper and spread it thinly.
- Pesto: Great with chicken, cherry tomatoes and mozzarella. Add it after baking if you want it to stay vivid green.
- Béchamel or cream base: A classic in parts of Europe, especially with mushrooms and potatoes.
5. Getting Your Home Oven Hot Enough
Heat is where most homemade pizzas fall short. Commercial pizza ovens run far hotter than a domestic oven, and that intense heat is what makes the crust spring up and brown before the inside dries out. Your goal is to get as much stored heat as possible directly underneath the pizza.
Pizza Stone vs. Pizza Steel
A pizza stone is a slab of ceramic or cordierite that absorbs heat and releases it into the bottom of the dough. It’s affordable and a big improvement over a baking tray. A pizza steel is a thick sheet of steel that conducts heat much faster than stone. It gives you a crisper, darker base in less time, and it’s practically indestructible. If you’re serious about pizza, a steel is the better investment.
The Preheat
Place the stone or steel on the upper-middle rack, roughly 15 to 20 cm below the grill element. Set the oven to its maximum temperature, usually 250 to 290°C (480 to 550°F), and let it preheat for a full 45 minutes to an hour. The oven will beep long before the stone or steel is actually hot. Patience here is the difference between a pale base and a crisp one.
The Grill Trick
For a Neapolitan-style result, switch the oven to its grill (broiler) setting for the last 5 minutes of preheating and keep it on while the pizza bakes. The steel heats the bottom while the grill blasts the top, mimicking the dome of a wood-fired oven. Pizzas cook in 4 to 6 minutes this way.
No Stone? No Problem
Turn a heavy baking tray upside down and preheat it the same way. Or use a large cast-iron skillet: heat it on the hob until very hot, lay in the stretched dough, add toppings quickly, cook for 2 to 3 minutes to set the base, then transfer to a hot oven or under the grill to finish.
Portable Pizza Ovens
Gas and wood-pellet pizza ovens designed for gardens and balconies can reach 450 to 500°C and cook a Neapolitan pizza in about 90 seconds. If you fall in love with pizza-making, they are a genuinely worthwhile upgrade. Just remember that at those temperatures you need to turn the pizza every 15 to 20 seconds, and you need a dough designed for the heat: skip the oil and sugar, which can burn.
6. Shaping: How to Stretch Dough Without a Rolling Pin
A rolling pin squeezes out the gas bubbles that fermentation worked so hard to create. For Neapolitan and New York styles, stretching by hand gives a much lighter crust. It takes a few attempts to master, but it’s easier than it looks.
- Flour generously. Dust your counter with flour or semolina, and turn the dough ball out onto it, dusting the top as well.
- Press the centre. Using your fingertips, press the dough outward from the centre, leaving a 1.5 to 2 cm border untouched. That border becomes your puffy crust.
- Open it up. Keep pressing and turning the dough until it’s about 20 cm across.
- Stretch over your knuckles. Lift the dough and drape it over the backs of both hands. Gently move your hands apart, rotating the dough as you go, and let gravity do the stretching. Aim for 28 to 30 cm.
- Fix thin spots. If a hole appears, pinch it closed or patch it with dough from a thicker area. Nobody will notice once it’s topped.
If the dough keeps springing back, it’s either too cold or the gluten is too tight. Cover it with a tea towel and walk away for 10 minutes. It will relax.
Launching the Pizza
Assemble your pizza on a lightly floured wooden peel, or on the back of a baking tray dusted with semolina, which acts like tiny ball bearings. Before adding toppings, give the peel a shake to make sure the dough slides. Top quickly; the longer wet sauce sits on raw dough, the more likely it is to stick. To launch, position the tip of the peel at the back of the stone, tilt it slightly, and pull the peel back toward you in one confident motion. Hesitation is what causes pizzas to fold over on themselves.
Parchment paper is the safety net: build the pizza on a sheet of baking paper, slide the whole thing onto the stone, and pull the paper out after 2 minutes once the base has set.
7. Cheese: Choosing and Using It Well
Cheese can make or break a pizza. Too much, or the wrong kind, and you get a greasy, soupy mess that slides off every slice.
- Low-moisture mozzarella (the firm block, not the ball in brine) is the standard for New York and pan pizzas. It melts evenly and browns beautifully. Grate it yourself; pre-shredded cheese contains anti-caking starch that stops it melting smoothly.
- Fresh mozzarella or fior di latte is the choice for Neapolitan pizza. It contains a lot of water, so tear it into pieces, lay it on kitchen paper for 20 to 30 minutes to drain, and use it sparingly.
- Buffalo mozzarella is rich and tangy. Many cooks add it after baking so it stays creamy rather than releasing liquid.
- Parmesan or Pecorino adds salty depth. Grate a little over the sauce before the mozzarella, or finish the pizza with it.
- Provolone, fontina and smoked scamorza blend well with mozzarella for more flavor.
For a 30 cm pizza, 100 to 125 g of cheese is plenty. Leave a few gaps so the sauce can peek through and steam can escape.
8. Topping Combinations Worth Trying
The golden rule of toppings is less is more. Every topping releases moisture and adds weight. Three or four well-chosen toppings will always beat eight competing ones. Pre-cook anything watery, such as mushrooms, spinach or courgettes, and slice everything thinly so it cooks in the short bake time.
The Classic Margherita
Tomato sauce, torn fresh mozzarella, a drizzle of olive oil, baked, then finished with fresh basil leaves. Simple, perfect and the best test of your dough.
Spicy Beef Pepperoni and Hot Honey
Tomato sauce, low-moisture mozzarella and thin slices of beef or turkey pepperoni that curl into crisp little cups in the oven. Drizzle with honey warmed with chilli flakes as soon as it comes out.
Mushroom and Truffle
Garlic oil base, mozzarella, fontina and mushrooms sautéed until golden with thyme. Finish with a few drops of truffle oil and a handful of rocket.
Chicken, Pesto and Sun-Dried Tomato
Thin pesto base, mozzarella, shredded roast chicken, chopped sun-dried tomatoes and a few pine nuts. A great way to use leftover roast chicken.
Roasted Vegetable Garden
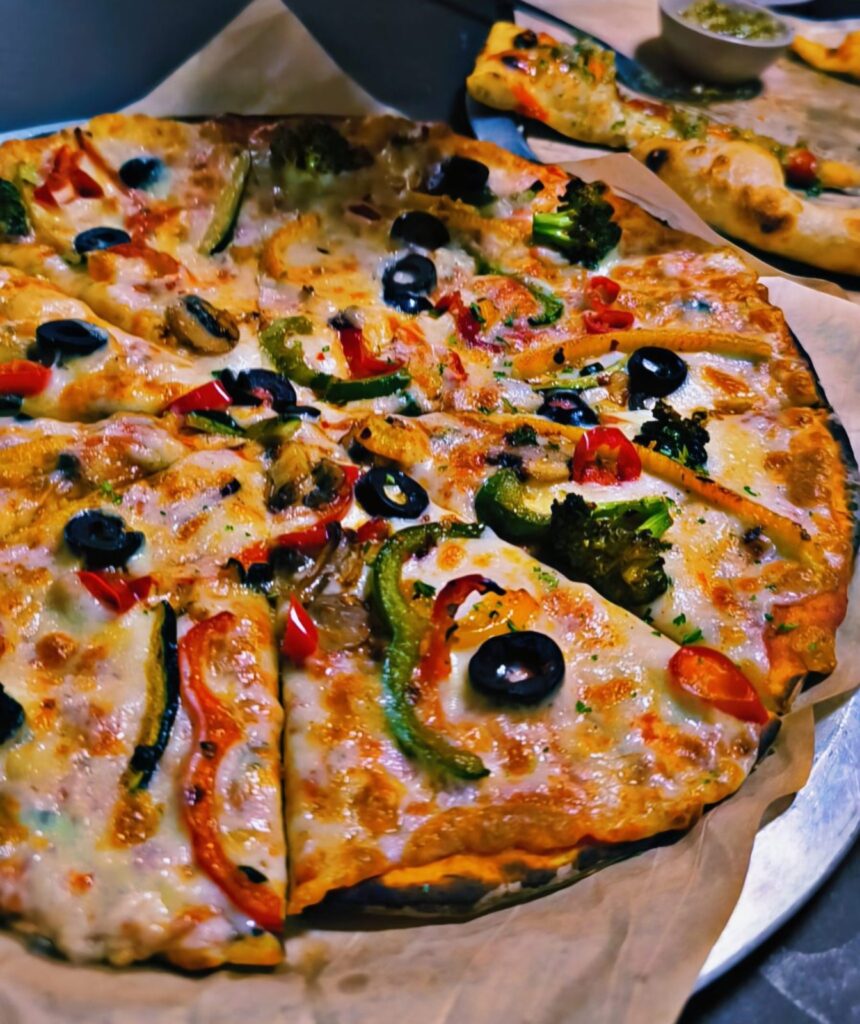
Tomato sauce, mozzarella, thinly sliced peppers, red onion, black olives and cherry tomatoes. Add a crumble of feta after baking for a Mediterranean twist.
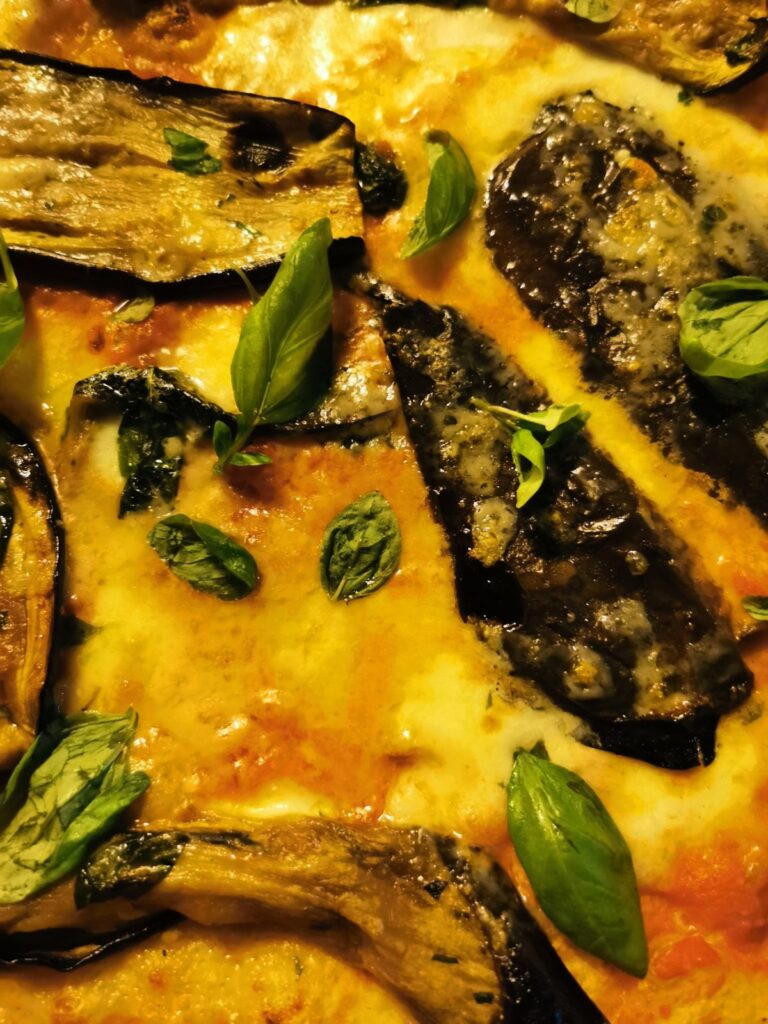
Aubergine Parmigiana Pizza
Tomato sauce, slices of grilled aubergine, mozzarella and plenty of Parmesan, finished with fresh basil. All the comfort of the classic baked dish in pizza form.
Potato and Rosemary
Paper-thin slices of waxy potato tossed in olive oil, salt and rosemary, layered over a garlic-oil base with a little mozzarella. It sounds unusual but is a much-loved Roman classic.
9. Baking and Knowing When It’s Done
Bake times vary widely depending on your setup:
- Portable pizza oven at 450°C+: 60 to 120 seconds
- Pizza steel under the grill: 4 to 6 minutes
- Pizza stone at 260 to 290°C: 7 to 10 minutes
- Pan pizza at 250°C: 12 to 15 minutes
Rather than relying on the clock, look for these signs: the rim is puffed and deep golden with some darker spots, the cheese is fully melted and bubbling, with a few lightly browned patches, and the underside is crisp and spotted brown when you lift an edge with a spatula. If the top is done but the base is pale, your stone wasn’t hot enough; preheat longer next time. If the base is burning before the top is ready, move the rack higher or switch on the grill.
The Rest
Let the pizza sit on a wire rack or wooden board for a minute or two before cutting. This lets the cheese set slightly so it doesn’t all slide off with the first slice, and resting on a rack rather than a solid plate keeps the base from steaming and going soft.
10. Finishing Touches That Make a Big Difference
Professional pizzaiolos often add ingredients after baking. Delicate things wilt, burn or lose flavor in intense heat, so add them at the end:
- A drizzle of good extra virgin olive oil
- Fresh basil, rocket or other tender herbs
- Freshly grated Parmesan or Pecorino
- Flaky sea salt and cracked black pepper
- Chilli oil or hot honey
- Burrata or buffalo mozzarella torn over the hot pie
- A squeeze of lemon on seafood or vegetable pizzas
11. Troubleshooting Common Pizza Problems
“My dough tears when I stretch it.”
It’s either under-developed or too cold. Let it rest at room temperature for longer, or knead a few minutes more next time. Using bread flour instead of all-purpose also helps.
“My crust is dense and bready.”
Usually a sign of under-fermentation or a rolling pin crushing out the air. Give the dough more time, try the cold ferment, and stretch by hand.
“The centre is soggy.”
Too much sauce, too much cheese, wet toppings or an oven that isn’t hot enough. Use a thinner layer of sauce, drain fresh mozzarella and pre-cook watery vegetables.
“The pizza sticks to the peel.”
Use more flour or semolina on the peel, assemble quickly, and give it a test shake before topping. If it sticks, lift the edge and toss a little flour underneath.
“The base burns before the top is cooked.”
Your stone or steel is too close to the heat source or your dough contains sugar that’s caramelizing too fast. Lower the rack or reduce the sugar.
12. Making Pizza Night a Habit
The best way to get better at pizza is to make it often. A few habits make that easy:
- Freeze dough balls. After the first 24 hours in the fridge, wrap individual balls in cling film and freeze them for up to three months. Thaw overnight in the fridge, then bring to room temperature before stretching.
- Batch your sauce. Make a double quantity and freeze it in ice cube trays or small tubs.
- Set up a topping bar. For family nights or parties, lay out bowls of prepared toppings and let everyone build their own. Kids especially love it.
- Keep notes. Write down your hydration, fermentation time, oven temperature and bake time. Small adjustments add up quickly.
Frequently Asked Questions
Can I make pizza dough without a mixer?
Absolutely. The recipe above is designed to be mixed by hand. The long cold fermentation develops gluten naturally, so you only need a few minutes of kneading.
How long does pizza dough last in the fridge?
Most doughs are at their best between 24 and 72 hours. After about four days they can become over-fermented, slack and sour. Freeze anything you won’t use within three days.
Why does my homemade pizza not taste like a pizzeria’s?
Usually three things: fermentation time, oven heat and salt. Try a 48-hour cold ferment, preheat your stone or steel for a full hour, and make sure your dough and sauce are properly seasoned.
Is semolina or flour better for dusting the peel?
Semolina is coarser and acts like ball bearings, so pizzas slide off more easily. Use it sparingly, though; too much can burn on the stone and taste bitter.
Can I use whole-wheat flour?
Yes. Replace 20 to 30 percent of the white flour with whole-wheat flour and add a little extra water, as bran absorbs more liquid. The crust will be nuttier and slightly denser.
The Bottom Line
Great homemade pizza comes down to a simple formula: a well-fermented dough, a bright and simple sauce, a restrained hand with toppings, and as much heat as your oven can deliver. None of these require special talent, just a little planning and a willingness to learn from each bake. Make the dough on Wednesday, bake on Friday or Saturday, and within a few weeks you’ll be turning out pies that rival your favourite pizzeria. Better still, you’ll know exactly what went into every one of them.