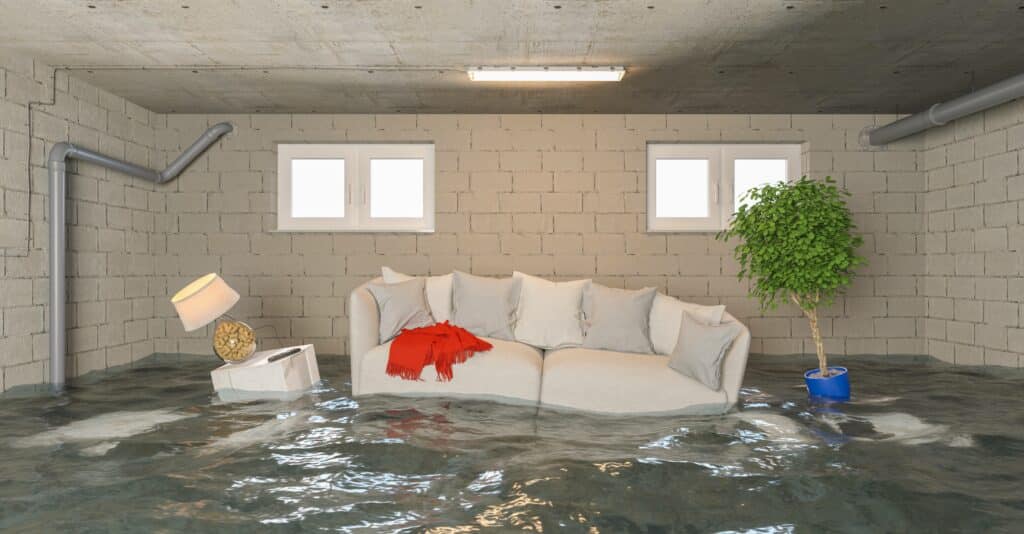
Water is the lifeblood of our planet, but when it enters your property uninvited, it quickly transforms from a necessity into a destructive force. Whether it’s a sudden burst pipe, a leaking roof during a torrential downpour, or the slow, silent drip of a hidden appliance line, water damage can compromise your home’s structural integrity and create a breeding ground for mold.
Understanding the interconnected processes of water damage restoration and mold remediation is essential for every property owner. This comprehensive guide breaks down how to identify, mitigate, and recover from water-related disasters to ensure a safe, healthy living environment.
Part 1: The Critical Reality of Water Damage
When water invades a building, time is the ultimate enemy. Within minutes, moisture saturates everything it touches. Within hours, drywall begins to sag, wooden structures swell, and electrical components face permanent ruin.
The Three Categories of Water
In the restoration industry, water damage is categorized by its source and potential health risks. Identifying the category dictates the safety protocols required for cleanup:
-
Category 1: Clean Water This water originates from a sanitary source, such as a broken water supply line, a failing faucet, or clean rainwater. While it poses minimal health risks initially, it can quickly degrade into a more hazardous category if left stagnant.
-
Category 2: Gray Water Gray water contains significant chemical, biological, or physical contaminants. Sources include washing machine overflows, dishwasher discharge, or toilet bowls containing urine (but no feces). It can cause discomfort or illness if consumed or contacted.
-
Category 3: Black Water This is highly unsanitary water containing pathogenic agents and toxins. Sources include sewage backups, rising floodwaters from rivers or streams, and seawater. Black water poses severe health risks and requires professional hazardous waste handling.
The Classes of Water Damage
Restoration professionals also classify water damage by the rate of evaporation and the types of materials affected:
-
Class 1 (Slow Evaporation Rate): Affects only a portion of a room with low-porosity materials (like concrete or tile). Little moisture is absorbed.
-
Class 2 (Fast Evaporation Rate): Affects an entire room, wicking up walls and soaking into carpets and cushions.
-
Class 3 (Fastest Evaporation Rate): Water comes from above (like a ceiling leak), saturating insulation, drywall, and structural timbers.
-
Class 4 (Specialty Drying Situations): Consists of deep pockets of moisture bound within materials like hardwood floors, brick, or stone, requiring advanced, targeted drying techniques.
Part 2: The Step-by-Step Water Damage Restoration Process
Successful water restoration is a scientific process utilizing specialized equipment and structural drying principles. Simply mopping up the surface water is never enough.
1. Inspection and Assessment
The moment a restoration team arrives, they perform a rigorous inspection using advanced moisture detection tools. Thermal imaging cameras detect temperature differentials behind walls, revealing hidden pockets of water. Moisture meters measure the exact percentage of water saturation in drywall, wood, and concrete to establish a baseline for the drying process.
2. Water Extraction
Removing standing water is the top priority to prevent deeper saturation. Industrial-grade truck-mounted vacuum systems and submersible pumps extract thousands of gallons of water rapidly. This step physically removes the bulk of the moisture, drastically reducing the overall drying time.
3. Evaporation and Dehumidification
Once surface water is gone, moisture trapped inside structural elements must be drawn out.
-
Industrial Air Movers: These high-velocity fans accelerate surface evaporation by driving high volumes of air across floors, carpets, and walls.
-
Low-Grain Refrigerant (LGR) Dehumidifiers: As air movers turn bound moisture into water vapor, dehumidifiers pull the warm, damp air in, cool it to condense the water out, and exhaust dry, warm air back into the room. This continuous cycle prevents secondary damage like warped wood or mold growth.
4. Cleaning and Sanitizing
Water damage often leaves behind odors, silt, and bacteria. Specialized antimicrobial and antibacterial treatments are applied to sanitize surfaces. Depending on the extent of the damage, contents like furniture, clothing, and documents may undergo specialized off-site cleaning (pack-out services) using ultrasonic cleaning or ozone chambers.
5. Monitoring
Restoration technicians monitor the drying progress daily. They record temperature and relative humidity readings to ensure the structure is moving toward its pre-loss dry standard. Equipment is only removed when the materials reach acceptable, stable moisture levels.
Part 3: The Threat of Mold Growth
Where water damage goes unresolved, mold invariably follows. Mold spores exist naturally everywhere in the air, both indoors and outdoors. However, they remain dormant until they find the ideal environment to thrive.
[Moisture] + [Organic Material (Drywall/Wood)] + [Time (24-48 Hours)] = Mold Growth
The 24-to-48-Hour Window
Mold requires three things to grow: a food source (organic material like drywall, wood, or carpet backing), oxygen, and moisture. Because the first two are always present in properties, moisture control is the only way to prevent mold. Under ideal conditions, mold spores can germinate and begin colonizing a damp area within 24 to 48 hours of water exposure.
Common Signs of a Hidden Mold Problem
While some mold is visibly obvious, much of it grows hidden behind wallpaper, under flooring, or inside HVAC ductwork. Property owners should look out for:
-
Musty, Earthy Odors: A persistent smell that doesn’t disappear with standard cleaning is often the first indicator of hidden mold.
-
Allergic Reactions: Unexplained sneezing, coughing, watery eyes, skin rashes, or worsened asthma symptoms when inside the property.
-
Discoloration: Water stains, yellowing walls, or dark spots appearing along baseboards or ceilings.
-
Warped Materials: Peeling wallpaper, bubbling paint, or buckling floor planks often indicate moisture behind the surface where mold loves to grow.
Part 4: The Professional Mold Remediation Process
While “removal” implies scrubbing mold away, true remediation focuses on returning fungal ecology to safe, normal indoor levels while correcting the underlying moisture defect.
1. Containment and Air Filtration
To prevent mold spores from spreading to unaffected areas of the building during the cleanup process, professionals establish physical containment zones. They use heavy-duty plastic sheeting and seal off doorways, windows, and HVAC vents.
Additionally, Negative Air Machines equipped with HEPA filters are deployed. These machines continuously pull air from the containment zone, filter out microscopic mold spores, and exhaust clean air outside, creating a vacuum that keeps contamination isolated.
2. Identifying and Fixing the Moisture Source
Remediation is pointless if the moisture problem persists. Before any physical cleaning ends, the source of the water—whether it’s a roof leak, plumbing issue, or high indoor humidity—must be completely repaired.
3. Removal of Mold-Contaminated Materials
Porous materials that have been deeply penetrated by mold growth cannot be salvaged. Drywall, insulation, ceiling tiles, and contaminated carpeting must be carefully cut out, sealed in heavy bags, and discarded. Non-porous or semi-porous materials (like framing lumber or concrete blocks) can be saved through rigorous wire-brushing, sanding, and HEPA vacuuming.
4. Antimicrobial Application and Encapsulation
After physical removal, remaining structural elements are treated with commercial-grade EPA-registered antimicrobials to kill residual mold roots. In some scenarios, professionals apply an “encapsulant”—a specialized paint-like coating that permanently seals any microscopic spores left behind, preventing them from ever multiplying again.
5. Post-Remediation Verification (PRV)
Before containment zones are torn down, a third-party environmental tester should perform a visual inspection and collect air or surface samples. A successful PRV test proves that the mold levels inside the containment zone are equal to or lower than the natural outdoor air, giving the property owner peace of mind that the home is officially safe.
Part 5: Rebuilding and Restoration
The final phase of recovering from a water or mold crisis is reconstruction. This step bridges the gap between a completely gutted space and a beautiful, livable property again.
Depending on the scale of the mitigation, reconstruction may include:
-
Installing fresh insulation and hanging new drywall.
-
Taping, mudding, painting, and texturing walls to match surrounding areas.
-
Replacing subfloors and installing new hardwood, laminate, tile, or carpet.
-
Re-installing cabinetry, vanities, trim, and electrical fixtures.
Choosing a company that handles both structural mitigation and full-scale remodeling streamlines the insurance process and ensures a seamless transition from disaster back to normal.
Proactive Prevention: Protecting Your Investment
The best way to handle water damage and mold is to stop them before they start. Property owners can implement several proactive measures:
-
Inspect Appliances Regularly: Check the supply lines to your washing machine, refrigerator ice maker, and dishwasher every six months. Replace plastic lines with braided stainless steel hoses.
-
Maintain Gutters and Downspouts: Clean your gutters at least twice a year to ensure rainwater is directed away from your property’s foundation.
-
Monitor Indoor Humidity: Keep your home’s relative humidity between 30% and 50%. Use dehumidifiers in naturally damp environments like basements and crawlspaces.
-
Act Immediately: Never ignore a small water stain or a minor pipe drip. Addressing a small leak today can save you thousands of dollars in mold remediation tomorrow.
Conclusion
Water damage and mold growth are complex, high-stakes challenges that can threaten both your financial investment and your family’s physical health. When disaster strikes, trying to handle structural drying or widespread mold removal with DIY methods often leads to recurring issues and greater long-term damage.
By understanding the science behind professional water extraction, strategic structural drying, and strict containment protocols, you can make informed decisions. If you spot signs of water intrusion or hidden mold, don’t wait. Contact a licensed, certified restoration professional immediately to protect your property and restore your peace of mind.
